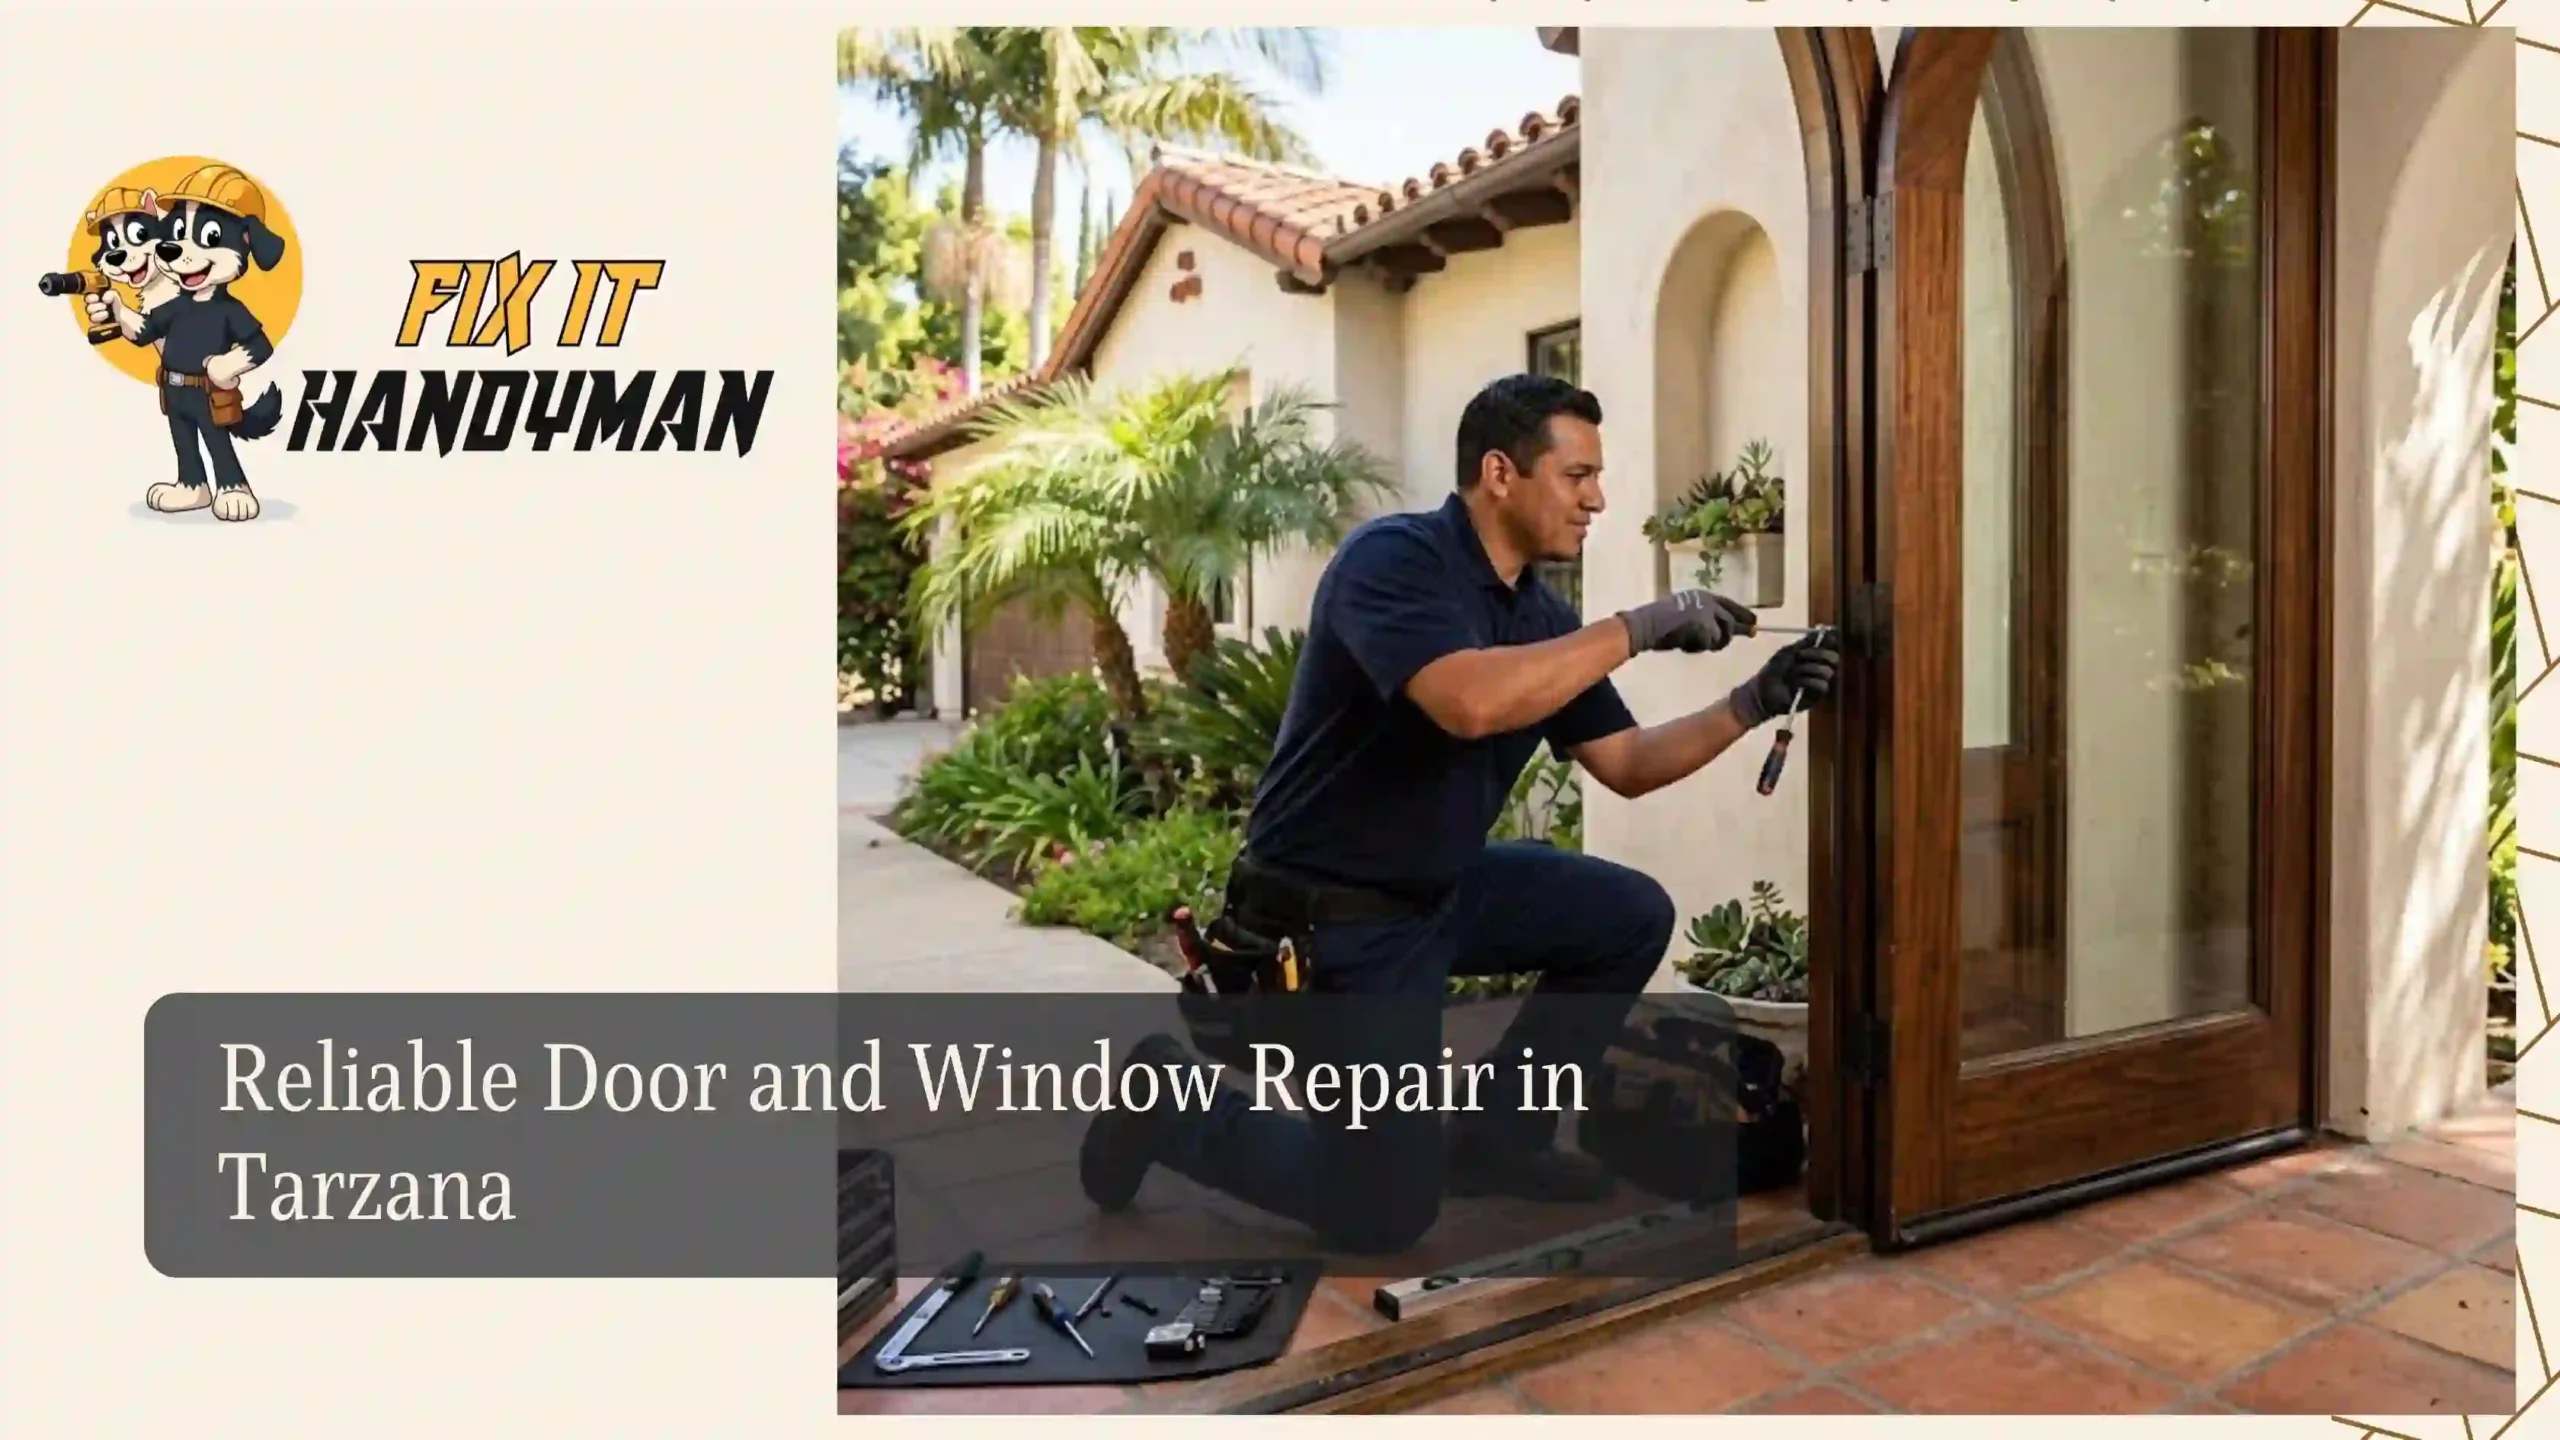
Keeping your home energy-efficient and comfortable year-round often comes down to sealing the small gaps that let air in or out. One of the most cost-effective ways to improve insulation is by replacing old or worn weatherstripping around doors and windows. In regions like Los Angeles and the San Fernando Valley, where hot summers and cooler nights can drive up energy costs, proper weatherstripping is essential. Whether you’re tackling a DIY project or calling in a professional handyman, understanding how to replace weatherstripping can help you save energy and money.

Why Weatherstripping Matters
Weatherstripping acts as a seal between your door or window frame and the moving parts, preventing air leaks, dust, and moisture from entering your home. Over time, exposure to sun, moisture, and daily wear can cause weatherstripping to crack, peel, or lose flexibility. This can lead to:
- Increased energy bills due to heating or cooling loss
- Drafts that reduce indoor comfort
- Dust, pollen, and even pests sneaking indoors
- Higher humidity levels and potential water damage
Replacing it at the right time is key to keeping your home insulated and protected.
Step 1: Identify When Replacement Is Needed
Before starting, check for these common signs that your weatherstripping is due for replacement:
- Visible gaps between the door/window and the frame.
- Drafts or temperature changes near entry points.
- Cracked, torn, or brittle weatherstripping.
- Difficulty closing doors or windows properly.
- Rising energy costs, even with your HVAC running efficiently.
A simple trick: hold a lit candle or lighter near the frame. If the flame flickers, air is leaking.
Step 2: Choose the Right Type of Weatherstripping
Different materials work better depending on the type of door or window and your budget. Common options include:
- Foam tape – Inexpensive and easy to install; ideal for windows and door frames.
- V-strip (tension seal) – Flexible plastic or metal strip that springs into place; great for double-hung or sliding windows.
- Door sweeps – Installed at the bottom of exterior doors to keep drafts and insects out.
- Rubber or vinyl gaskets – Durable and provide a tighter seal; often used on entry doors.
- Felt strips – Affordable but less durable; best for low-traffic areas.
For homes in Los Angeles and the San Fernando Valley, rubber or foam weatherstripping works well against dry heat and mild winter drafts.
Step 3: Remove Old Weatherstripping
Before applying the new seal, clean the area thoroughly:
- Gently peel off old weatherstripping or use a putty knife for stubborn adhesive.
- Remove any leftover nails, screws, or adhesive residue.
- Clean the surface with mild soap and water.
- Let the surface dry completely to ensure strong adhesion.
Step 4: Measure and Cut the New Strips
Measure twice, cut once!
- Use a measuring tape to get accurate lengths for each door or window edge.
- Cut the new weatherstripping with scissors or a utility knife.
- Make sure the strips are slightly longer than the exact length to ensure a snug fit.
For doors, include the top, bottom, and both sides. For windows, measure the sash or frame edges.
Step 5: Install the New Weatherstripping
The installation method depends on the type:
- Adhesive-backed: Peel off the protective layer and press firmly along the edge.
- Nail-on: Align the strip and secure with small nails or screws.
- V-strip: Fold into shape and slide into the frame groove.
- Door sweep: Screw or nail into the bottom of the door.
Pro tip: Start from the top and work downward to ensure even coverage.
Step 6: Test the Seal
Once installed:
- Open and close the door or window to make sure it seals tightly without sticking.
- Run your hand around the edges to check for lingering drafts.
- Adjust or trim any excess material.
Benefits of Proper Weatherstripping
Replacing your weatherstripping may seem like a small task, but it can have a big impact:
- Lower energy bills through reduced heat loss and better AC efficiency.
- Enhanced comfort with fewer drafts and more stable indoor temperatures.
- Improved indoor air quality by blocking dust and allergens.
- Increased property value due to better energy efficiency.
- Less strain on HVAC systems prolongs their lifespan.
DIY vs. Professional Handyman Services

While many homeowners in Los Angeles and the San Fernando Valley can handle weatherstripping on their own, there are times when calling a professional is worth it.
DIY Pros:
- Cost-effective for simple projects
- Easy to do with minimal tools
- Great for learning basic home maintenance
Professional Pros:
- Perfect installation with no gaps
- Access to high-quality materials
- Time-saving for multiple doors and windows
- Ideal for historic or custom homes with unique frames
If your home has older windows, uneven frames, or specialty doors, hiring a handyman can ensure long-lasting results.
Seasonal Maintenance Tips
To keep your weatherstripping in good shape year-round:
- Inspect seals at the start of every season.
- Clean regularly to prevent dust buildup.
- Replace any section that’s torn, loose, or warped.
- Reseal areas where adhesive has started to peel.
This regular upkeep can extend the life of your weatherstripping and keep your energy bills under control.
Call to Action
Replacing weatherstripping is one of the smartest and most affordable upgrades you can make to your Los Angeles or San Fernando Valley home. A proper seal helps maintain indoor comfort, protects against outdoor elements, and keeps your energy use efficient. Whether you take the DIY route or call a professional handyman, this small project can lead to big long-term savings.